

So one of the hobbies that has taken up a lot of my time in my absence from this blog is bead-spriting. It’s basically recreating sprites, pixel by pixel with small colored beads. You arrange them on a pegboard, and then melt them together with an iron. If done right, they come out pretty cool. You can make small NES era sprites, larger 16-32 bit sprites, or just use completely original pixel art of any size. Since this is a video game blog though, I’ll just relate this to game spriting. Here’s some things to help you on your way if you want to try it yourself.
First, you’re gonna need pegboards and beads. Pegboards can be easily found at your local Michaels, Jo’Anns, or other craft stores. Beads on the other hand are trickier. You can find big jars of mixed color beads in stores, and most likely a limited supply of individual colored bead bags. The big jars aren’t really a viable option for spriting as skimming through an entire jar for a specific color you need is inefficient. You’re better off going online to eksuccessbrands.com to purchase the specific beads you’ll need. If you get to the point where beading is a regular hobby it may be a good idea to start ordering there in bulk to have all colors available to you. There are also different brands of perler beads called nabbi and hama that offer slightly different color pallets, but thats something you only need to look into if you’re an advanced spriter trying to get the absolute perfect colors for your work.
You can head to http://www.spriters-resource.com to find sprite sheets from pretty much any game you can think of, to use as a template.
If you have an image that isn’t natively a sprite, you can use this program to help convert it into a usable template for a sprite.
Once you have your sprite all laid out on a pegboard, it’s time to iron it. You need to cover your sprite with perler branded ironing paper, or cooking parchment paper found at your local grocery. I use the parchment paper and it works great. The ironing process takes practice. Every iron is different, you need to find the right setting and spots on your iron that will melt the beads together just so that they are stuck together, and not ruining your pegboard by over melting. Once its all stuck together you can pry it off your pegboard, flip it over and do the same for the back. At this point you can decide how much you want you beads melted together. Some people keep the melting to a minimum, others like to melt them to the point where they look just like one singular piece of plastic where you can no longer tell they are individual beads. It’s up to your personal preference. One tip I have if you plan on completely melting your sprite is to put a layer of beads around your sprite that you can cut off after its cooled. Otherwise, your outer edges and corners will be rounded and have lost the pixelized look.
Freshly ironed sprites have a tendency to curl up or down, so I suggest stacking a book or two on top of it during the cooling process to flatten it out.
After that, you’re done. Put them on your walls, make magnets out of them, do whatever.
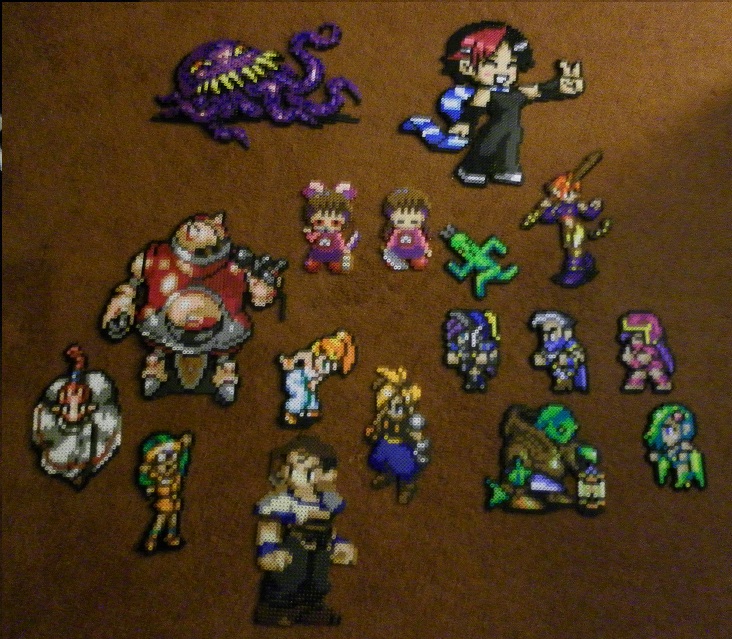
Here’s some examples of other sprites I’ve made:


You can find most of my stuff at Drusyc.deviantart.com.


